Adding/Changing/Removing REDHAWK Project Namespaces
Existing REDHAWK projects can be renamed to include a namespace. Projects can be namespaced by adding dots in the name. Project names may not begin with a number and may not contain special characters other than dots for the namespace. Namespacing projects provides the ability to uniquely identify projects that share the same base name but have different implementations and also provides a logical grouping of resources. For example, the REDHAWK basic assets are namspaced as rh.xxxx.
The following procedure explains how to rename a project to include a namespace.
The IDE only supports automatic refactoring of project namespaces, not project base-names. If you want to change the base-name of a project, create a new project with the new base-name, and then manually move code into the new project.
In Project Explorer, right-click the project, select Rename.
The Rename Resource dialog is displayed:
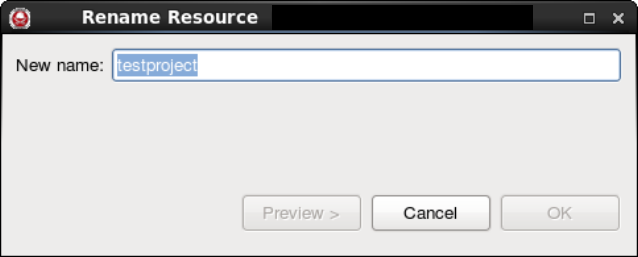
Rename Resource Dialog
Enter the new project namespace and click Preview.
The Rename Resource window is displayed:
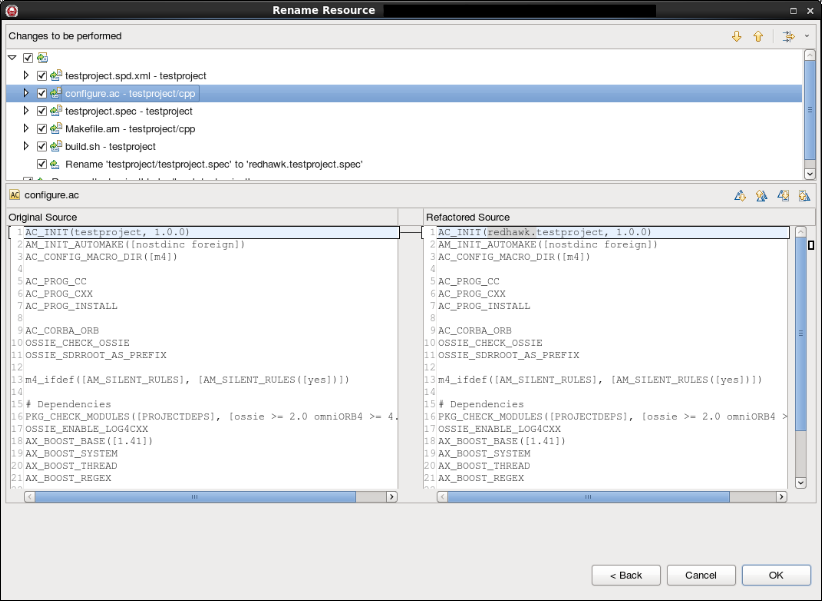
Rename Resource Window
Click OK.
The IDE updates all relevant references, directories, and file names to match the new namespace.